It’s time for another review, This time its the Corsair H100, This closed water loop is Corsairs latest closed water based heatsink, While it’s been out for a while, It’s time it’s been tested on intel’s new socket 2011 3960x. The new 6 core 15Mb cache will obviously put out a lot of heat, So let’s how well the H100 handles the heat.
Let’s check out the specifications and contents of the H100.

Okay, So first thing we notice after we read through the specs is that those fans are fast, At high settings the run at 2500rpm, That is insane speeds. Also it’s worth noting that the noise levels are extremely high at 39dBA, But thats obviously only when the fans are at there highest rpm. The contents are straight forward, The H100 cooler, Two 120mm fans, The mounting brackets(Check below for what they support) Thermal Compund which is pre-applied and a quick start guide.
The H100 supports Intel socket 775, 1156, 1155, 1366 and 2011, On the AMD side it supports AM2/AM3. So you are covered pretty much all over the board.
Design
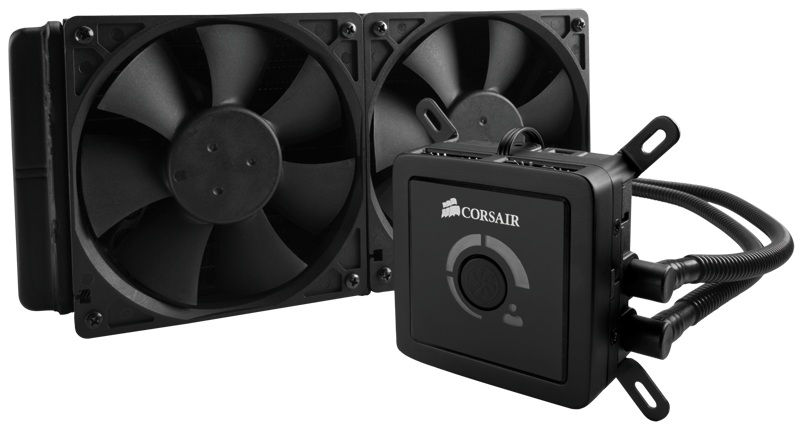
So Corsair went with a similar design to all 240mm closed liquid cooling heat sinks, By that i mean, It’s the pump/heat sink attached to the radiator by two corrugated strong plastic pipes, This will keep the liquid inside and is fairly flexible. The fans connected directly to the radiator and there is options to have a push-pull configuration assuming there is enough room in your case to do so.
Corsair this time have added a button!!! A button indeed. This time they are allowing you to decide the fan speeds, There are three settings with that three lights, Each setting activates a light. One light = low, Two lights – Normal and three lights = High.
 That is a picture of the pump from a top angle, What you see there is 4 fan headers, Which are all 4 pins each, Which is actually quite interesting as the fans supplied by Corsair are only three pin fan headers, That means they actually taught outside the box and new people would probably want to change the fans. So at least they allowed 4 pin header fans to work aswell. Also to note that this can control and power up to 4 fans, Which means you can use it as a push-pull configuration.
The unit itself has two connectors, 1 x molex and 1 x CPU 3 pin header, The molex is simply used to get power for the pump and each fan that you use, The CPU header cable is used to let the motherboard know there is a fan connected, Simply so the computer will boot and not give any warnings.
Setup
Setup is pretty straight forward, I installed the H100 into a Coolermaster Haf X, installation took about 20-30 minutes, Most of the time was spent securing the fans to the radiator, Once the radiator was secured, Connected the pump/heatsink to the cpu was a breeze. I don’t expect anyone to run into trouble installing the H100, Just make sure your case will support it before hand.
All in all, Setup and configuration is extremely straight forward and very easy to setup. Check out the next page for the actual testing.
Click Page 2