Accessories
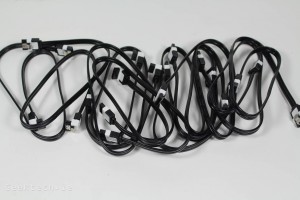
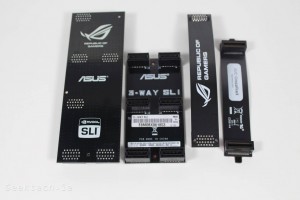
Straight away we have a total of 10 SATA 6Gbps cables. 5 x right angled and 5 x straight angled. On the right we have the included SLI and crossfire cables. Included is a 3-way and 4-way SLI bridge and 2 x crossfire bridges. The crossfire cables are only needed for cards that still require the bridge and modern AMD cards will simply bridge through PCIe 3.0 and not need the cable.
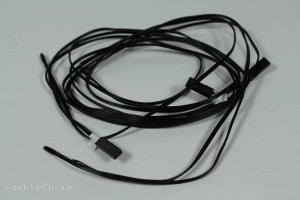
On the left we have three temperature probes that can be attached to the motherboard in various areas. These probes can be tied into fan curves for custom controls based on their temperatures.
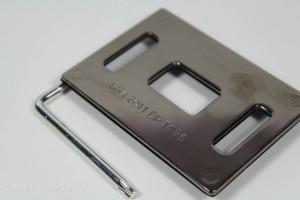
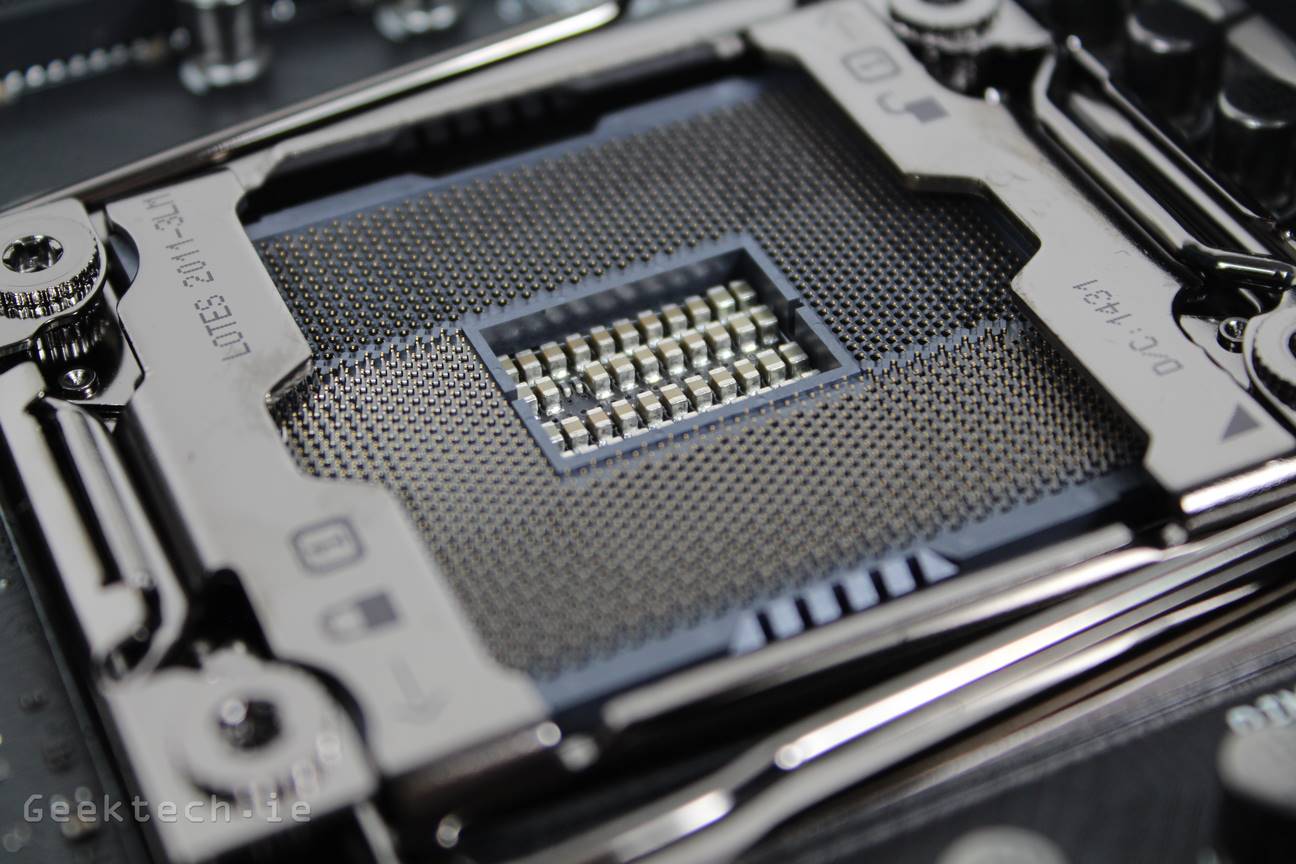
Asus include their own OC Socket mount. These can replace the standard 2011v3 screw socket so that users can use LN2 or Dry Ice pot for serious overclocking. A always, the Rampage Extreme is aimed at breaking world records.
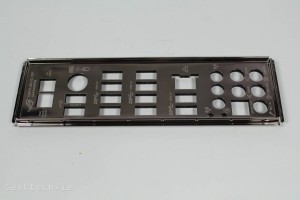
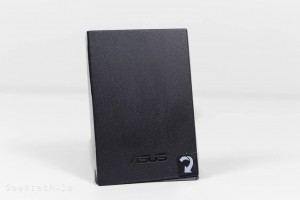
Lastly we have the included WiFI aerial. This can be used in two ways with the unit either flat or twisted to give a flat based and left standing up. There is a included magnet on the back of the unit – which allows for it to be attached to the side of your case should you wish. The aerial has three seperate cables that connect to the back I/O board for 3×3 WiFi with 2.4GHZ and 5GHz support. It includes WiFi AC support for up to 1,300Mbps speed.
OC Panel
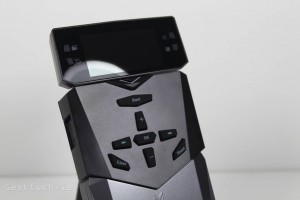
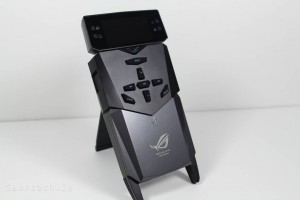
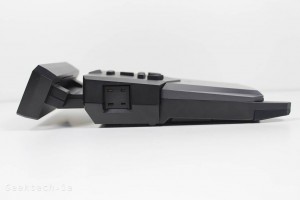
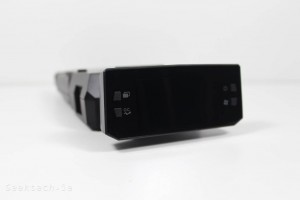
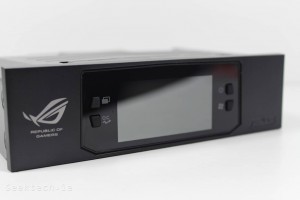
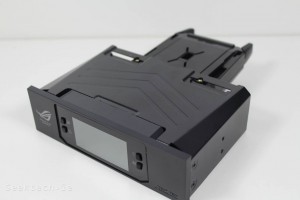
The OC Panel was included with the Rampage IV Extreme Black Edition and Asus have included it with the Rampage V Extreme as well. The OC Panel is aimed at serious overclockers. It includes ffunctions directly overclocking everything on the motherboard. The main area of the panel includes 4 buttons which are – Normal/Extreme Mode Switch, One-Click CPU Level Up, Power button (for display), and finally Fan speed control. The display itself will list CPU temperatures, Base clocks, FAN RPM’s and Multiplier ratio.
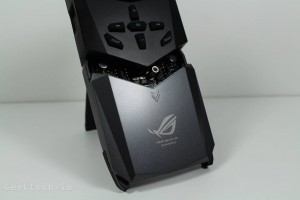
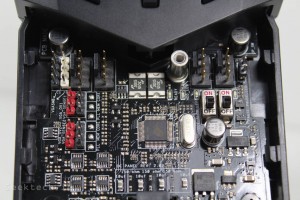
Removing the bottom panel will reveal some of the OC Panels functions. It includes 4 x 4 pin fan headers, VGA Hotwire, VGA SMB, and lastly Slow Mode and Pause switches. Again, this is aimed at those going for serious overclocking.
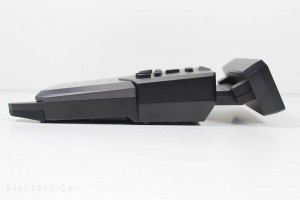
The right side of the device is left blank, but the left side has a Subzero Sensor.
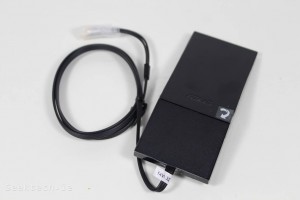
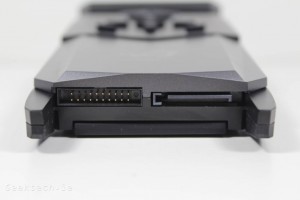
The bottom of the device has the ROG Connect port and a SATA power for connecting the device to your computer.
The last thing for the OC Panel is the 5.25-inch bay that allows the device to simply sit inside your case and act as little monitor for the details we listed above. It also allows for quick fan control, which is defiantly handy since we have 8 fan headers on the board to use.
3. Accessories and OC Panel
